Building Your First Shed: A Beginner's Guide
Dreaming of a neat and tidy backyard? A shed offers the perfect solution for storing gardening tools, outdoor equipment, or even creating a small workshop. This guide walks you through building a basic shed, even if you've never wielded a hammer before. We'll break down the process into manageable steps, ensuring you can complete this project with confidence and a sense of accomplishment.
Planning Your Shed Project
Before you even think about touching a tool, careful planning is crucial. This stage sets the foundation for a successful build. First, choose your shed's location. Consider factors like sunlight, access to electricity (if needed), proximity to your house, and local building codes. Next, determine the shed's size and design. Simple designs are ideal for beginners. Start by sketching your shed on paper, noting the dimensions of the walls, roof, and door. Remember to account for the materials you’ll need; measuring accurately is key to avoid costly mistakes later on. Finally, obtain the necessary permits. Check with your local council to see if permits are required for your shed project. This ensures you comply with all regulations and avoid potential issues down the line.
Gathering Your Materials and Tools
With your plan finalized, it’s time to gather your supplies. This includes everything from the structural components to the finishing touches. For a basic shed, you'll need pressure-treated lumber for the frame, plywood for the walls and roof, roofing felt, screws, nails, hinges, a door handle, and paint or stain (optional). Don't forget the essential tools: a measuring tape, a level, a saw (circular saw or hand saw), a drill, a screwdriver, a hammer, and safety glasses. Consider investing in a quality spirit level to ensure your shed is perfectly plumb, minimizing the chance of structural problems. A sturdy workbench can also greatly improve your workflow and organizational efficiency during the build.
Essential Material Checklist:
- Pressure-treated lumber (for the frame)
- Plywood sheets (for walls and roof)
- Roofing felt
- Screws and nails (various sizes)
- Hinges
- Door handle
- Paint or stain (optional)
Constructing the Shed Frame
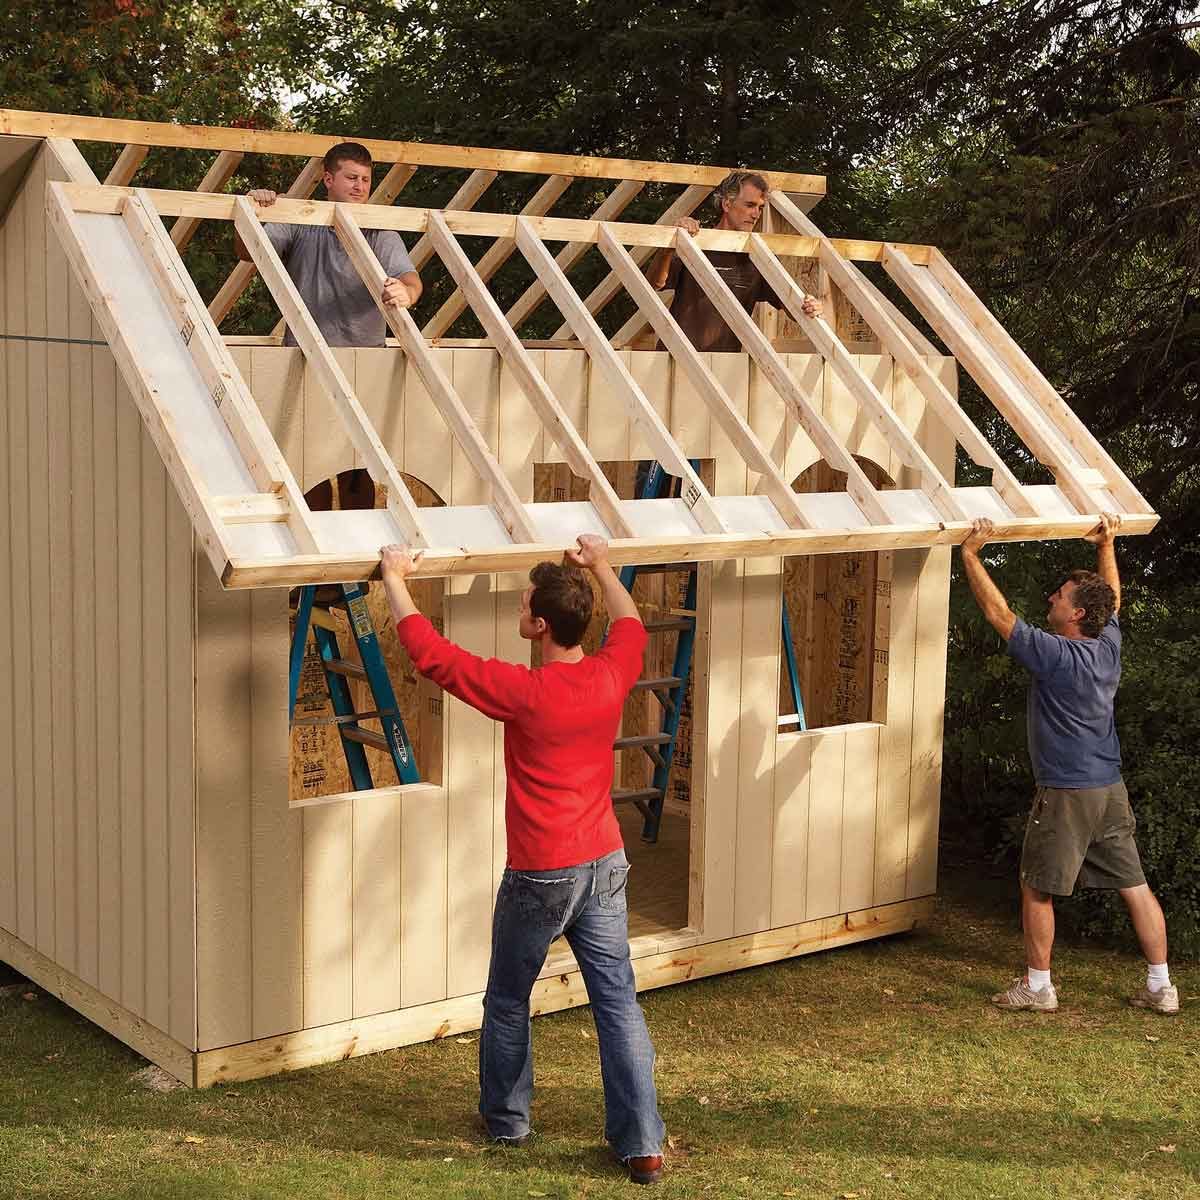
Begin by creating the base frame. Cut the pressure-treated lumber according to your plan and assemble it using screws or nails. Ensure the frame is square and level using your measuring tape and spirit level. Next, erect the wall frames, attaching them securely to the base. Double-check for squareness at each stage! Once the walls are up, build the roof frame, ensuring it has sufficient pitch for proper drainage. Use strong bracing to reinforce the frame and ensure stability in varying weather conditions. Remember, accuracy is key; take your time and double-check measurements to maintain structural integrity.
Adding Walls, Roof, and Finishing Touches
Now, it’s time to clad the frame. Attach plywood sheets to the walls, ensuring they're flush and securely fastened. Then, cover the roof with plywood, followed by a layer of roofing felt to protect against the elements. Install the door using hinges and a handle. Finally, apply paint or stain (if desired) to protect the wood and add a personal touch. Consider adding extra features like windows or shelves to enhance the shed's functionality. A final inspection ensures everything is securely fastened, and you've achieved a stable, well-constructed shed.
Safety First!
Throughout the entire building process, prioritize safety. Wear safety glasses to protect your eyes from flying debris. Use work gloves to protect your hands. If using power tools, always follow the manufacturer's instructions carefully and ensure the tools are in good working order. Take breaks when needed to avoid fatigue and maintain focus. Remember that a safe and careful approach will lead to a more enjoyable and successful building experience.

0 comments:
Post a Comment
Note: Only a member of this blog may post a comment.